5 Steps to Become a Lockdown On Ball Defender for Basketball Defense
My Dad was a 5’8 basketball defense specialist and played division 2 college basketball. Yup… a basketball defensive specialist at 5’8 playing division 2 basketball.
I get a ton of questions asking how to become a better basketball defender. Many people are constantly asking for the best drills for basketball defense. Yes, there are drills that can help improve our defense, but there is something much more important than any kind of drill. My answer is always the same… The majority of the time, defense in basketball comes down to one thing…
EFFORT.
If my Dad could make division 2 college basketball as a defensive specialist at 5’ 8’, you can too, no matter your size. My Dad told me every time he stepped on the floor he only had one thing in mind, “I am completely shutting down the person I am guarding.”
Pure effort and determination.
Now, being able to put maximum effort into defense is easier said than done. Once you have mastered effort, the most important aspect to defense, we can talk about the other fundamentals to become a great basketball defender.
There Are 5 Key Pillars to Playing the Absolute Best Basketball Defense
Every team has to run these 5 pillars correctly to create it’s maximum defensive potential.
These pillars are:
- Ball
- Help
- Triangle
- Post
- Box Out
In this blog, we will be going over pillar one: Ball.
There Are 5 Key Pillars to Focus On to Become a Lockdown On Ball Defender
There are 5 crucial pieces to everyone’s on ball basketball defense. I like using pillars as a way to say tips, steps, progressions, and so on because, without one of the white house pillars, everything would come crashing down. This invites the reader to realize that all steps are necessary to one another. So if you ever hear me say pillars, this is what I am referring to. 🙂
- Basketball Defense Stance
- Push NOT pull
- Glass Ceiling
- Hand Signals
- Closing Out
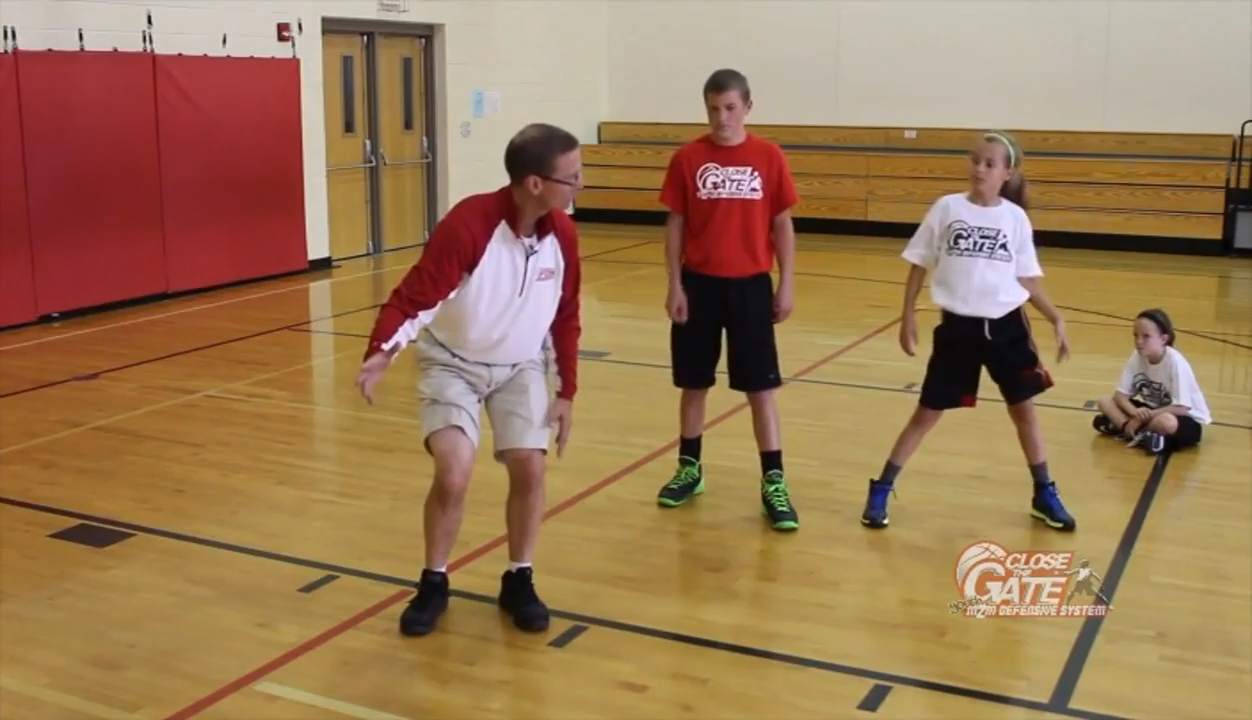
The First Pillar of On Ball Basketball Defense: Stance
Basketball defense stance is the base, and the first and most important aspect of our on ball defense. Without a good defensive stance, all our other pillars go to waste.
Majority of poor defenders do not have a good center of gravity on their stance. The reason for this?
They have their nose PAST their toes.
We need to have our nose ABOVE our toes. This gives us proper balance to react quickly to the opposing teams movement.
The picture below shows us what stance we SHOULD be getting into.
Butt Down. Nose ABOVE toes.

Image of Lebron With his Nose ABOVE Toes

The Second Pillar of On Ball Basketball Defense: Push NOT Pull
This is arguably one of the most important details in the game of basketball.
Yes, the ENTIRE game of basketball.
Almost every poor on ball defender pulls first, NOT push first. Knowing the difference between these two is CRUCIAL to your on ball defending success.
This is the biggest key to becoming elite in basketball defense.
If your feet are coming together and clicking a lot, it is very likely that you are pulling before pushing.
Use these pictures as reference below.
Step 1: Push FIRST
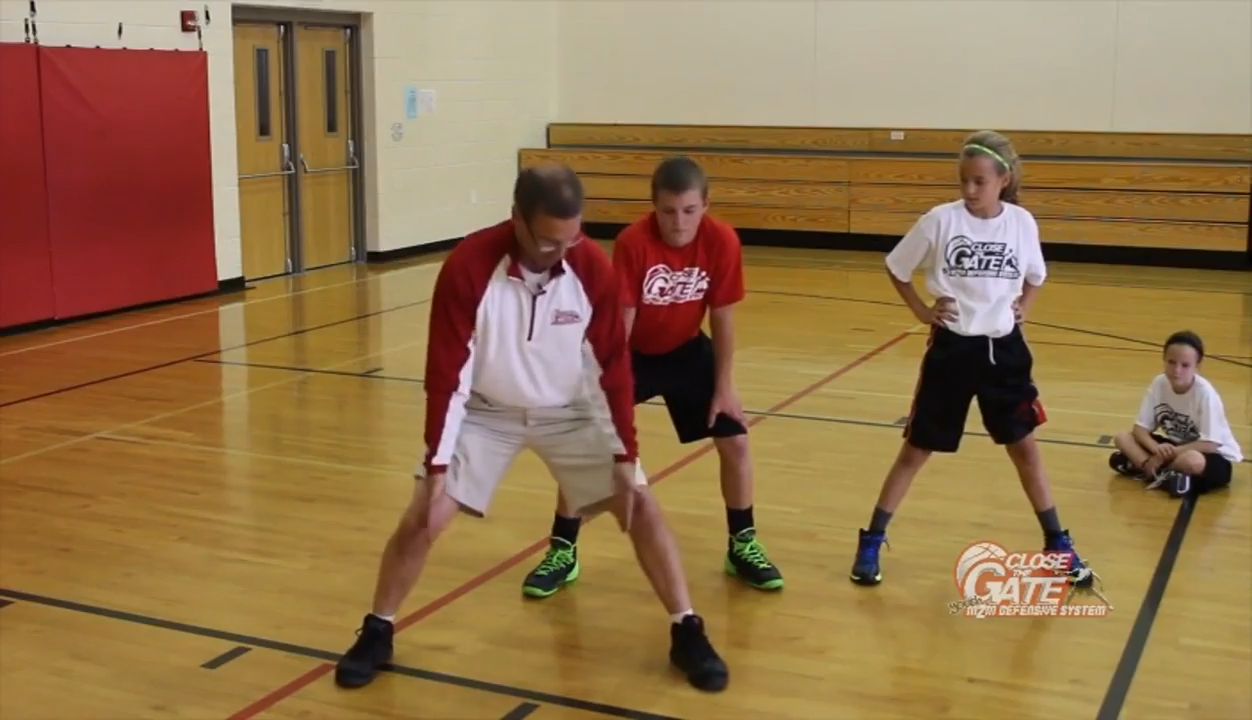
Step 2: Pull Back to Your Stance.
Stance: NEVER closer than shoulder width or clicking our feet.
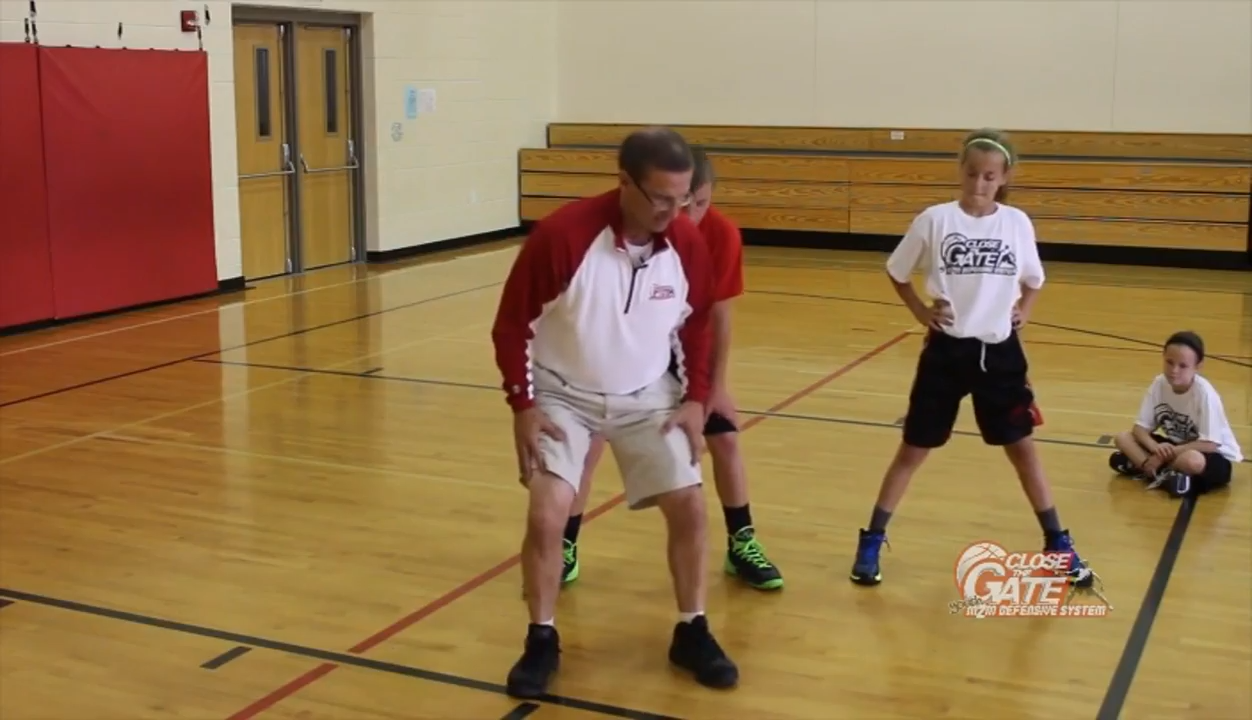
Step 3: Push Again.
Step 4: Repeat the Process.
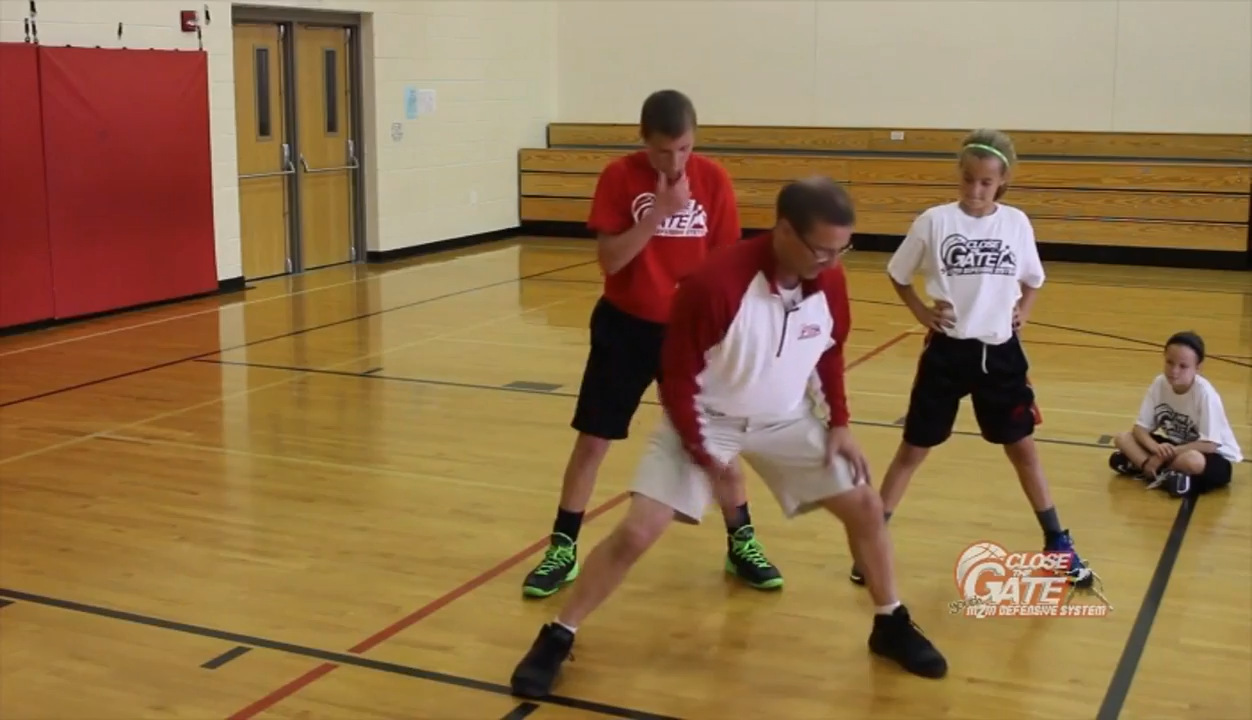
Below is an image of what most defenders do first: Pull.
Pulling first forces us to be skinny, making it much easier for the offensive player to go around.
Image of What NOT to Do
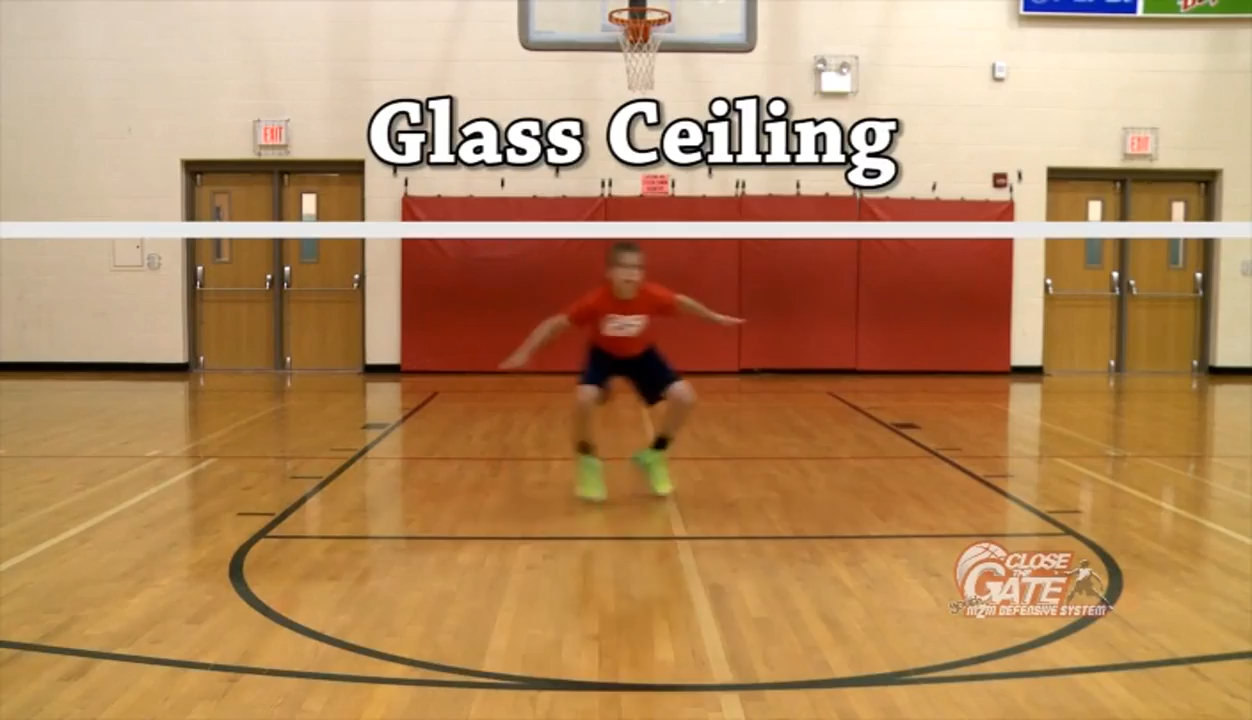
The Third Pillar of On Ball Basketball Defense: Glass Ceiling
The third biggest fundamental of on ball defense is the glass ceiling. A lot of coaches like to call this the coffee mug.
Visualize yourself getting into a defensive stance. Now imagine a glass ceiling right above your head once you get into your stance. The goal on defense is to NOT shatter the glass ceiling.
This is an awesome analogy for kids to understand because they do not want to break the glass. If your bobbing up and down on defense constantly, your reflexes and reactions to certain situations are going to be much slower.
Another way to think of this analogy is the coffee mug that I stated earlier. Once you get into your defensive stance, think of a hot coffee mug right on top of your head.
The coffee mug also helps encourage a proper pillar one of on ball basketball defense: Stance.
If the coffee mug is on top of your head, you most certainly can not have your nose past your toes!
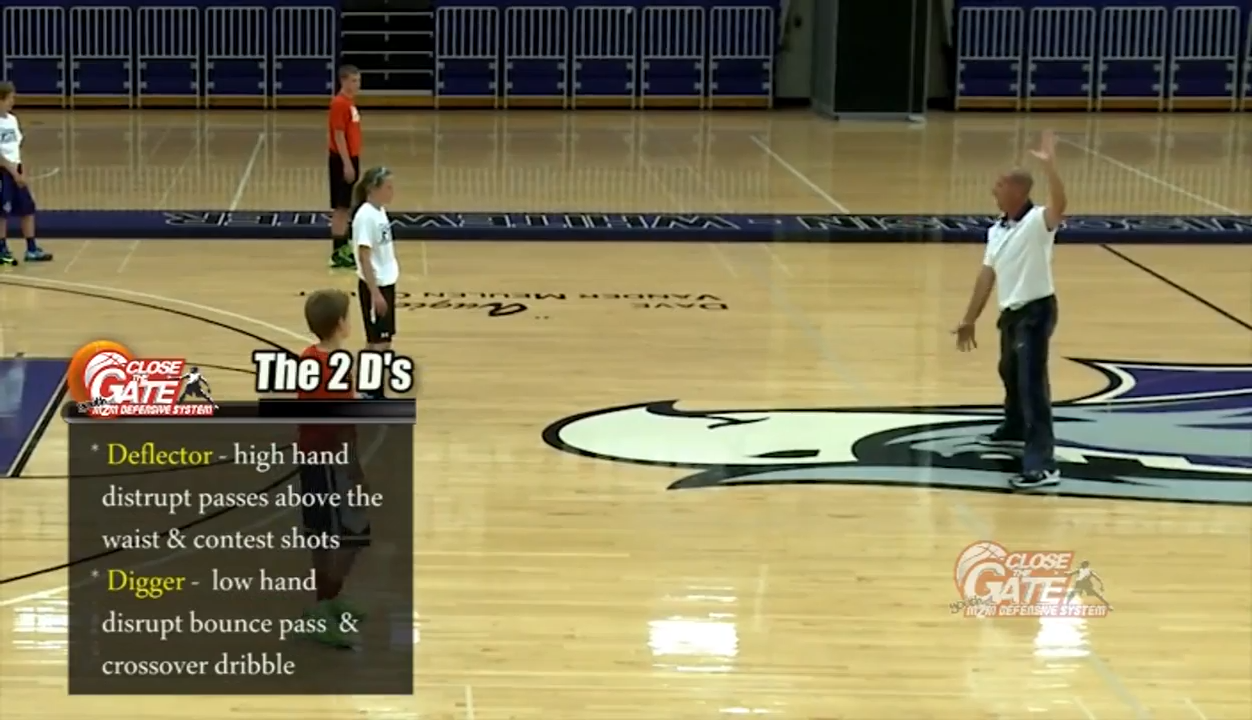
The Fourth Pillar of On Ball Basketball Defense: Hand Signals
High hands are one of the most deceiving aspects in the game of basketball. It can make or break an offensive player from scoring. Having active hands is an illusion that you want on your side.
Majority of poor defenders don’t use their what? You guessed it, their HANDS!
There are two main concepts when it comes to talking about defensive hands. These are:
- The Deflector
- The Digger
We like to call these the “2 D’s.”
The Deflector can be defined as the high hand to disrupt passes above the waist and contest shots.
The Digger can be defined as the low hand to disrupt bounce passes and crossover dribbles.
Below you can see Coach Pat Miller with one digger and one deflector. This is how our hands should look with our basketball defense.
Now, how do you know which one to use and when?
Whichever direction the basketball defender is sliding, is the same hand that the deflector should be.
So, if you are sliding to your left, the deflector will be your left hand.
The reason for this?
If the offensive player decides to shoot, you already have a hand high to contest the shot! This makes it extremely efficient to block a shot as well.
Now, the digger would then be the opposite. If you are sliding to your left, the digger would be your right hand.
The reason for this?
If the offensive player decides to crossover, you already have a hand in place to disrupt the dribble.
These two hands would then switch depending on what direction you are sliding.
Defense Sliding Left =
- Left hand deflector
- Right hand digger
Defense Sliding Right =
- Right hand deflector
- Left hand digger
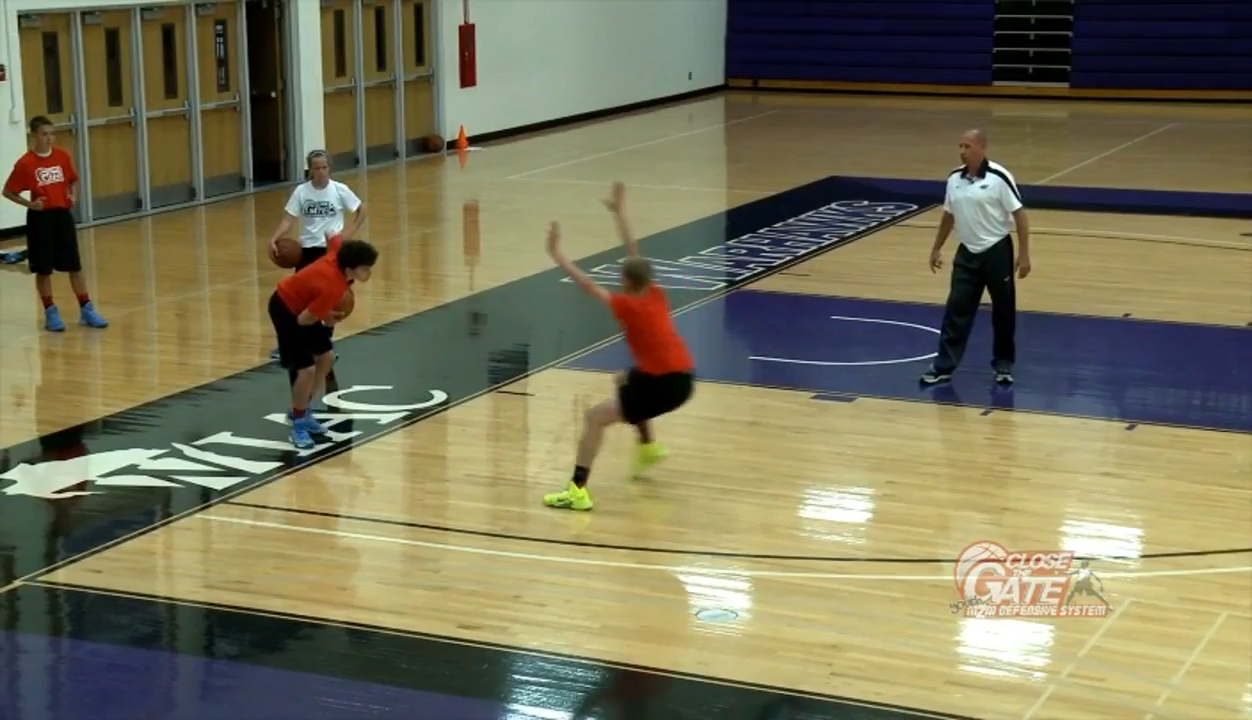
The Fifth Pillar of On Ball Basketball Defense: Close Outs
The hardest thing to do in ALL of basketball? The close out.
Trust me on this… nothing is harder than giving a good close out. This is coming from a college basketball player.
Offensively we LOVE closeouts.
Defensively, we HAVE to master them.
Step 1 to Performing a Good Close Out: Throwing Weight Backwards
The first step to a good close out is putting your weight in the right direction. Almost all closeouts fail for this exact reason.
When we go to closeout, our momentum is going in the opposite direction of where the offensive player WANTS to go. This gives us an extreme disadvantage.
This is why we most throw out weight backwards to put us in a position where we can react to where the offensive player wants to go.
How do we do this?
As you are running to close out, throw your arms up and backwards as fast as possible. The arms are what allow us throw our weight backwards.
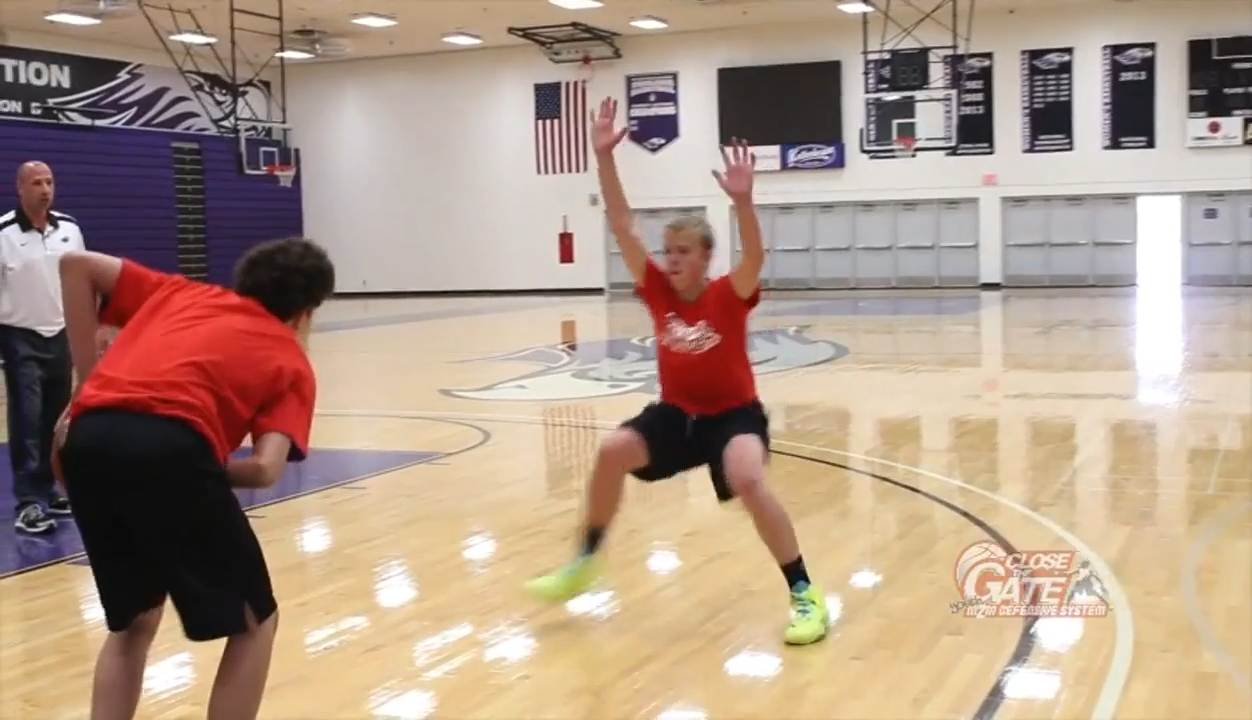
Notice the picture below, the head is completely behind the legs. This is the definition of weight being thrown backwards into our closeout.
Step 2 to Performing a Good Close Out: High Hands
As we talked about earlier, defensive hands can be an illusion.
That is why high hands are so important in the middle of a closeout.
High hands are what will prevent the offensive player from shooting the basketball.
If the offensive player does decide to shoot, your hands will already be there to give a good contest.
Step 3 to Performing a Good Close Out: A COUPLE Choppy Feet
Yes, chopping your feet is extremely important when making a closeout in basketball, BUT I want to clear up some myths about the subject of choppy feet.
Imagine yourself on the baseline getting ready to run sprints during practice.
Now, imagine coach saying the words, “go,” to start the sprint, but you have to stop your sprint once your coach says, “stop.”
The goal of this sprint? To stop as fast as possible.
Now, imagine your coach saying, “stop,” after he previously just said, “go.”
Are you going to chop your feet 10 times to stop as fast as you can?
I sure hope not.
The myth that you need to chop your feet an extreme amount of times to have a good closeout is just excessive and wrong.
It is very important that we DO chop our feet, and NOT hop, BUT chopping your feet ten times over makes the closeout even worse.
Chop your feet 3 or 4 times to give the best possible closeout, just like you would naturally in the first place.
Step 4 to Performing a Good Close Out: Sliding at the Correct Angles
Majority of coaches teach defenders to try and completely cut off the ball handler. In certain situations, yes, this is the correct way to teach it, but that completely depends on where you are on the court, and where your help defense is on the court.
Once you get older and start playing at a higher level, players these days are now extremely crafty with the ball. Elite ball handlers will have a counter every single time you try to immediately cut them off with no angle. This then results in a blow by.
Learning to push first and drop into a roughly 45 degree angle when you slide, is crucial to the success of your team defense and your basketball close out.
This is exactly what you must do after you have completed step 3 of your closeout: choppy feet.
Remember to push first, NOT pull first, and push at roughly a 45 degree angle.
45 degrees helps keep us between the rim and our offensive player, which is exactly what we want when we play basketball defense.
Recap
If you’re looking to become a lockdown on ball defender, these are the steps I would take to get there.
But remember, you main focus needs to be on your effort, drive, and the mindset that no one will score on you.
Anyone can become a good defender… ANYONE. My father is proof of that.
5 Main Pillars to Elite Overall Team Basketball Defense
- Ball
- Help
- Triangle
- Post
- Box Out
5 Main Pillars to Become a Lockdown On Ball Basketball Defender
- Basketball Defense Stance
- Nose ABOVE Toes
- Push NOT pull
- Glass Ceiling
- Coffee mug
- Hand Signals
- Deflector
- Digger
- Closing Out
- Weight Back
- High Hands
- Couple Choppy Feet
- Sliding Angles
Yes, there are a lot more of defensive details that go into the basketball techniques of defense, but if you focus on mastering these five broader concepts of on ball basketball defense, you are well on your way to mastering the first pillar of defense: Ball.
If you’re interested in more in-depth detail about mastering the art of becoming an elite defender, check out our Man to Man Defensive System. This gives much more detail breakdown onto all of our pillars in the game of basketball, and all the drills necessary to master them.
Make sure you check out our other blog on how to become an elite shooter, the most important skill in basketball: 5 Steps to Perfect Shooting With Your Basketball Shot Form.
I also strongly encourage you to check out our basketball training podcast: Off the Court. This can be found on ALL listening platforms! The podcast has over 5,000 downloads.
Lastly, we have a completely free ebook: How to Unlock the Mental Side of the Game. Mental is to physical as 4 is to 1. It’s extremely important that we do not overlook this for our basketball game.
-Coach Jack